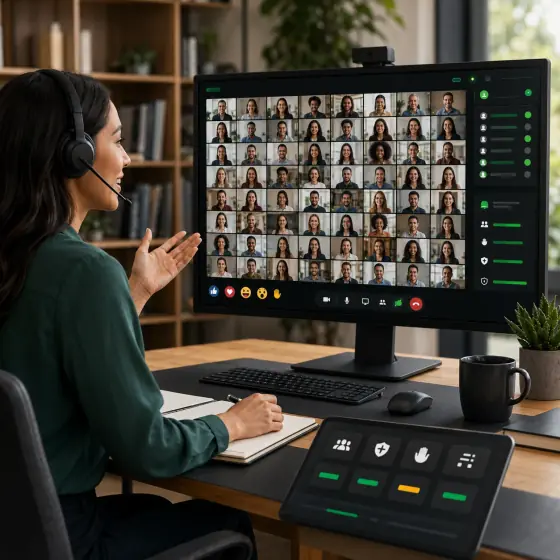
 Meetings & town hallsUp to 3,000 interactive participantsBreakout rooms, polls, whiteboard, screen annotation, and recording that pauses and resumes.Open a room demoLive demo
Don’t read about it. Open one.
Meetings, phone and SIP, AI agents, live broadcast and WebRTC-to-HLS — one platform, all running live in this browser.
Pick one. No signup.
- 50Kfree minutes
- 10open-source SDKs
- $0.002agent minute
Here for…
Realtime commercePreview
Lot 14 — 1962 CoupeReserve met00:09
- Bidder 07$18,500
- Bidder 12$18,250
- Bidder 07$18,000
A bid lands with nine seconds left, and the clock extends.
- 00:09to settle
- $18,500standing bid
Something else — including the watch party — see every room.
Find your situation. Then run it in the next click.
One runtime, not eight products to buy. Pick the one you came for.
What the links doLive demoInteractiveReal numberGuide
Meetings & town hallsUp to 3,000 interactive participantsBreakout rooms, polls, whiteboard, screen annotation, and recording that pauses and resumes.Open a room demoLive demo Interactive live broadcast500K+ concurrent viewersUltra-low-latency WebRTC for the people who interact, HLS delivery for the audience that just watches.Open the control roomLive demo
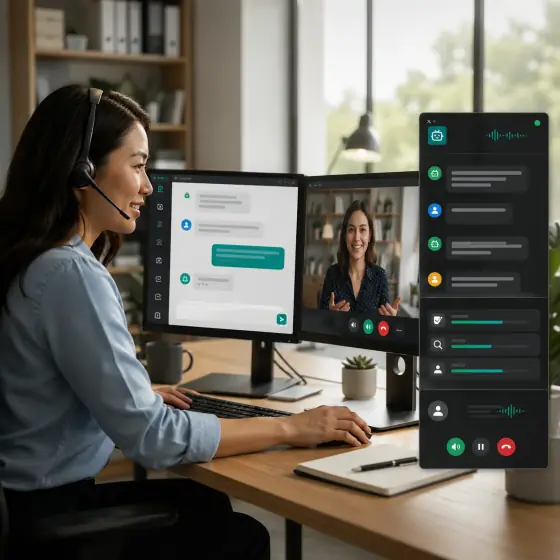 Support desks & contact centresAI first response, human handoffAgents answer, qualify, and escalate to a person with the whole conversation still intact.Open Phone StudioInteractive
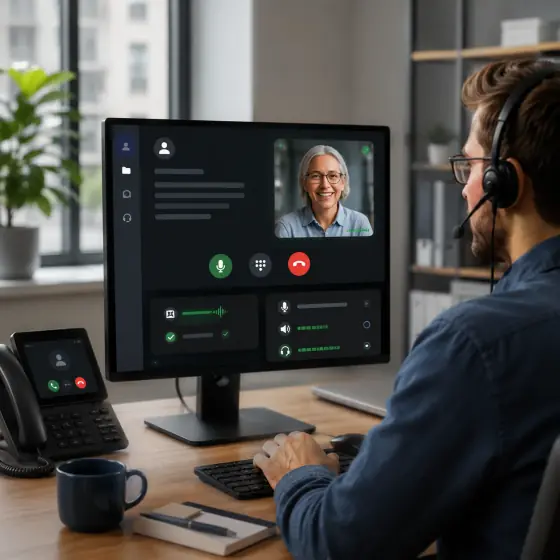 Cloud phone & click-to-callBring your own SIP and numbersPut a real phone line inside the browser, or connect the SIP trunks and numbers you already pay for.See cloud phoneGuide
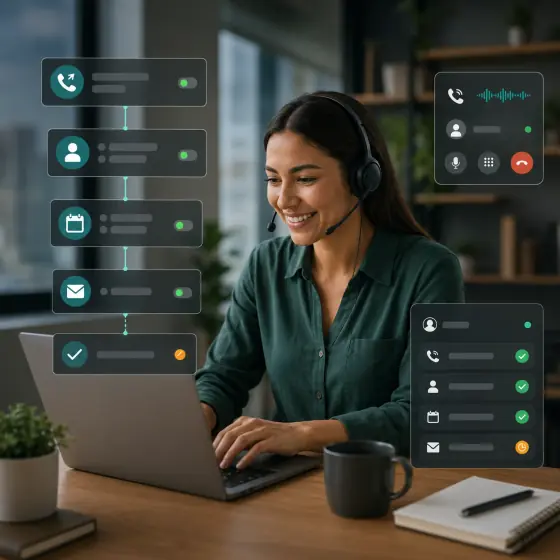 Voice agents that finish the taskQualify, book, confirm, follow upInbound and outbound agents that run a real call flow and hand the result back to your systems.Call a live agentReal number
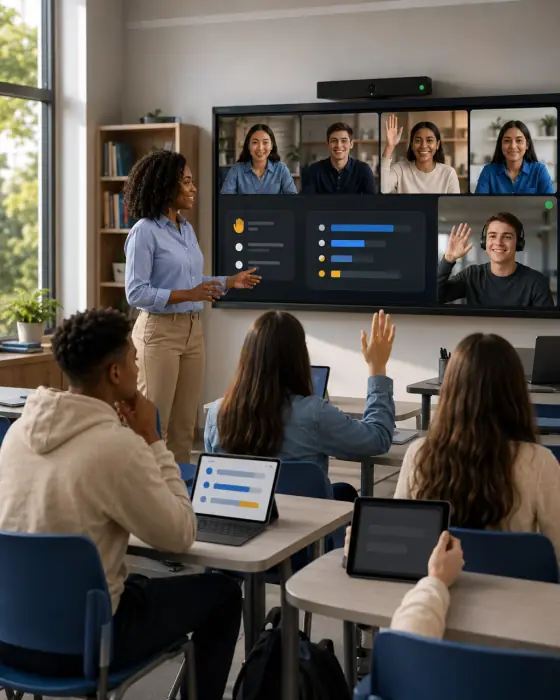 Classrooms & trainingLive translation includedTeach the room and the remote cohort at once, with hand-raise, polls, captions, and translated audio.Open the classroomLive demo
 Live commerce & auctionsReactions, bidding, promote-to-stageSell live with viewer promotion, real-time reactions, and a product rail beside the stream.Open the live auctionLive demo
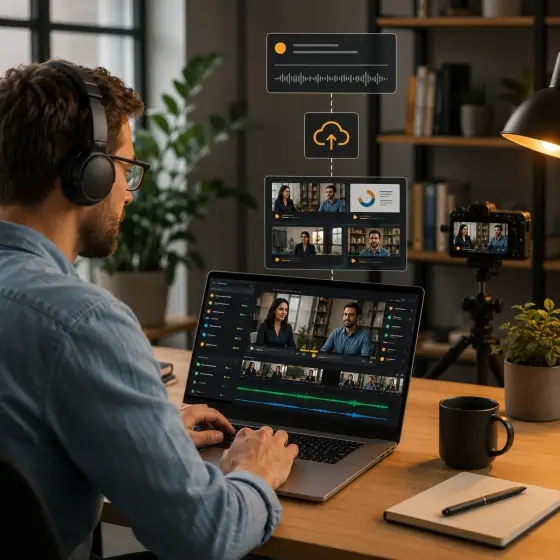 Recording, transcripts & AI notesSummary, decisions, follow-upsEvery session can leave behind a stored recording, a speaker-attributed transcript, and structured notes.Retrieve real notesInteractive
Talk to our AI right now — no signup.
Skip the sales pitch. Start a voice conversation with a live MediaSFU agent in this page, then embed the exact same widget on your own site in minutes.
- Works in this browser — nothing to install
- No signup, no card, ~30 seconds
- This is the same widget you can embed on your site
Prefer a real phone? Call a live demo number: +1 785 369 1724 (US) — or see all demo numbers.
MediaSFU Live Demo AgentVoice + multimodal · answers questions about anythingUses your microphone only after you allow it.
Solution capsules
AI support that a team can actually run
Ask support a question as a customer, then see the same conversation land on the operator side.
One session, two surfaces, and a record of what happened.
Embed on your help centre, pricing page, or in-app support panel.
Customer · Support agent · Team lead
What actually happened0/2 observed
- Support is ready for the customer
- Customer asks a question
- Operator dashboard opens on the same session
- Operator responds, co-pilots, or takes over
Steps marked observed came from real widget events in this browser, not from clicking through.
Integrated. Real sandbox resources, correlated customer and operator surfaces, working cleanup.See every workflow
Try it now
Talk to our AI support right now — no signup
Type something a customer would actually ask — "where is my order?" — then look at the dashboard beside it.
Runs in this browser. Nothing is created until you press start.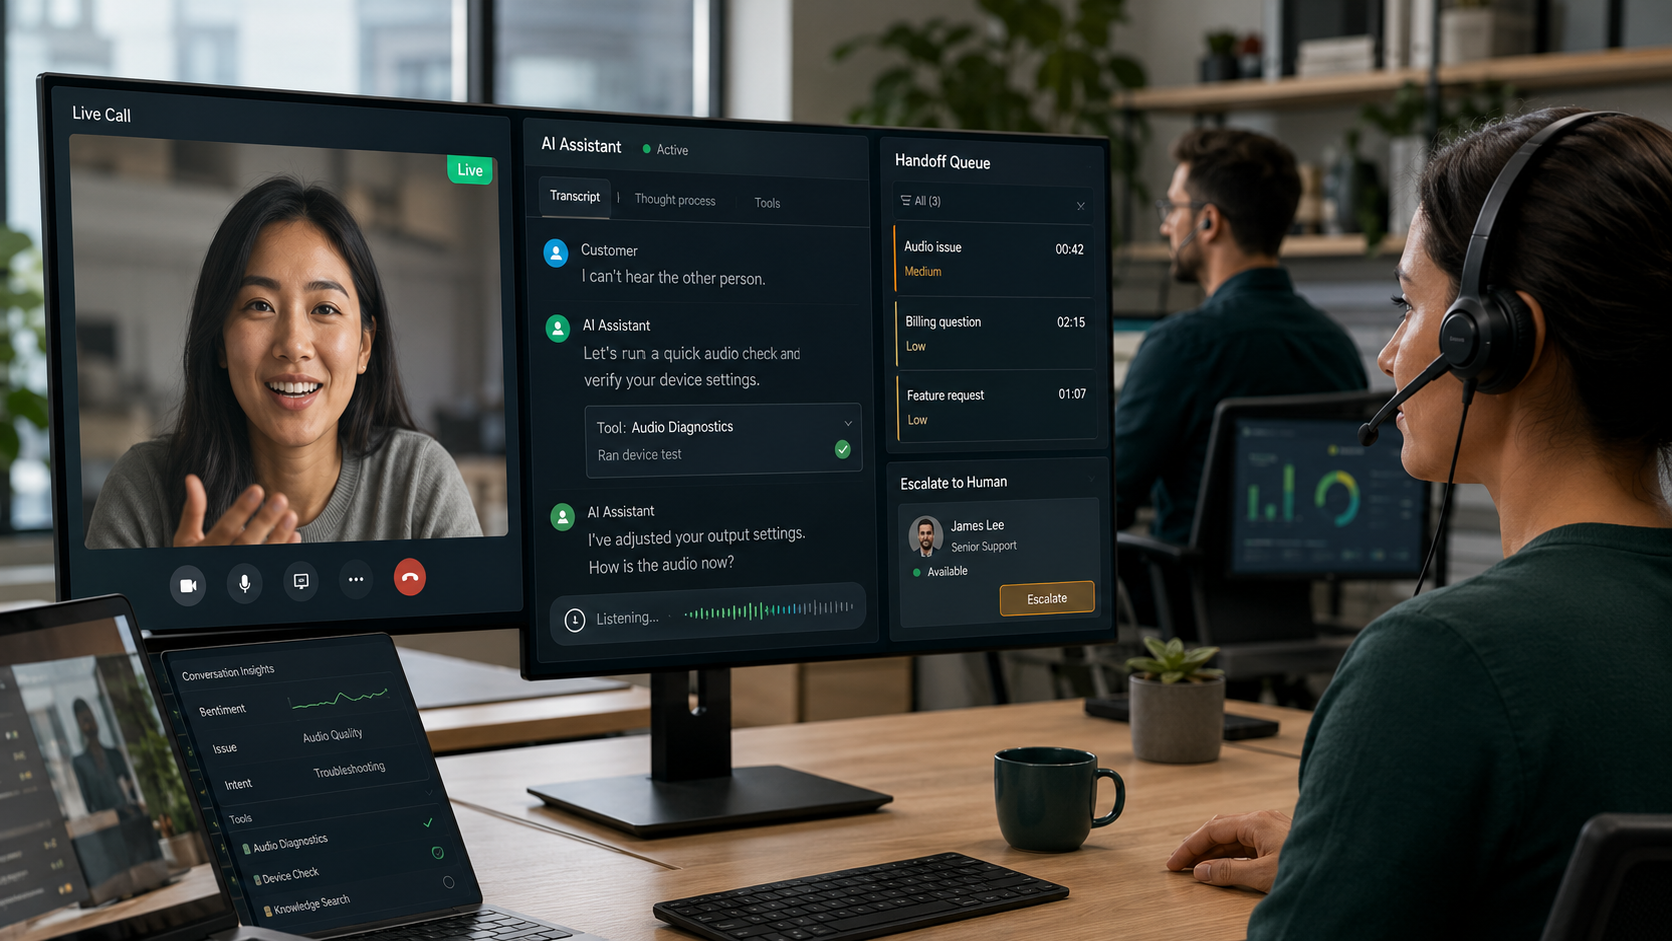
Some of it you don’t build at all.
Everything above is a demo of what you could build. These are applications that are already running — sign in and use them, or take the same APIs underneath and build your own thing instead.
mediasfu.com/liteMediaSFU ConsoleRooms, recordings, transcripts, API keys and usage in one place. Sign in and it is already set up.
- Meetings
- Recordings
- API keys
- Usage
- Voice
- Vision
- Playground
- Bring your own key
- Plan
- Generate
- Export React
- Support desks
- Queueing
- Operations
That entire dashboard is one tag and a key
All six widget types install exactly this way. Build one in the dashboard, paste these four lines, and replace a single value. There is no SDK to learn, no build step, and no backend to stand up.
The operator console — live sessions, conversation replay, human takeover.
<script src="https://cdn.mediasfu.com/v1/widget.js" async></script>

<mediasfu-agent-dashboard
  widget-key="YOUR_WIDGET_KEY"
></mediasfu-agent-dashboard>
The highlighted value is the only thing you change.
Testable Proof
Five capabilities. All running here.
These are working paths, not concept screens: load the widgets, create a transcript, join a translated room, talk to a multimodal agent, or call an AI agent by phone.
Loads in browser
Try the exact widgets visitors can use on a real site.
Load each public widget inside the demos page, switch between use cases, and see the experience before opening Widget Studio.
Click-to-CallMeeting PortalAI AgentMultimodal Web Agent
Numbers, not quotes
Free to start. Built for the ceiling.
Every figure below is published in the product, pricing, and docs — not a testimonial, and not a number we made up for this page.
Published scale
Start small without choosing a small ceiling.
These are decision points you can verify in product, pricing, and implementation materials.
A real starting allowance for testing live workloads.
A room path for large, participatory sessions.
A separate delivery path when the audience becomes the scale.
The service level the platform is engineered around.
Start at the level that creates value. Keep every deeper option open.
MediaSFU is useful before engineering starts and remains useful after the product becomes fully custom. Pick the outcome your team needs today.
01Operate
Teams and operatorsUse a finished communication product
Run meetings, cloud phone, contacts, recordings, translation, and AI notes without an integration project.
What you getYour team can start working immediately.
02Automate
Support and revenue teamsDeploy an agent on browser or phone
Test a live agent, connect supported AI providers, then add SIP/PSTN, campaigns, tools, and human handoff.
What you getProve the call before configuring production.
03Embed
Websites and customer journeysPlace a working entry point on your site
Configure click-to-call, meeting join, AI assistance, or operator handoff visually and publish one embed.
What you getLaunch the experience without rebuilding the page.
04Build
Developers and product teamsOwn the interface and real-time behavior
Start with prebuilt room UI or use headless controls across web, mobile, native Android and iOS, and Unity.
What you getCustomize deeply without replacing the platform.
Ten production SDK pathsReact / React Native / Expo / Flutter / Angular / Vue / Kotlin / Android / Swift/iOS / Unity
Compare SDKs Good, fast, cheap. Pick two.
That rule is a constraint on building it. Every corner below was already paid for by somebody else.
FastBecause you are not building it.Six finished rooms open in this tab. Six widgets are one script tag. Vibe Studio writes the project around them.
- 6 showcase rooms
- 6 embeddable widgets
- no account for any of it
- published rates
- no seat licences
- 50,000 free minutes
- 10 open-source SDKs
- full UI or headless
- cloud or self-hosted
The catch, since there is always one. If you want a room nobody has built before, you build it. Take the SDKs, go headless, and wire your own surface — that path is slower, and it is still cheap.
Transparent Pricing
Best-value real-time pricing, complete products included.
Teams can launch apps immediately. Developers can build on low per-minute infrastructure. Supported AI and SIP provider costs stay direct.
$0Start free
$10Connect yearly
$5.99/moStarter plan
Products includedCloud phone, meetings, widgets, and agent studios are ready to use.
No provider markupSupported AI and SIP provider costs stay direct instead of being re-billed.
Build on the same stackMove into SDKs and APIs when you need product-level control.
Affordability at scale
Low rates are the operating model, not a compromise.
Start with polished apps, studios, and widgets. Build deeper when you need to, while MediaSFU keeps infrastructure rates low and provider costs visible.
0.01¢/minAudio infrastructure
$0.0001 per audio minute keeps the real-time layer cost-effective as usage grows.
No markupProvider costs stay direct
Connect supported AI and SIP providers without adding a MediaSFU surcharge to their rates.
Ready nowPrebuilt products included
Launch cloud phone, meetings, widgets, and agent studios now, then customize with SDKs when needed.
Free
Validate meetings, widgets, and calling flows before you upgrade.
$0
Best for first proof
- 4 participants
- 15 minute meetings
- Widget and workflow testing
Connect
For small teams that want meetings plus their own SIP calling.
$10/year
$0.83/month effective
- Up to 4 participants
- 15 minute meetings and screen sharing
- Bring your own SIP calling
Starter
For teams replacing separate tools with one operating layer.
$5.99/month
Best paid starting point
- Up to 100 participants
- Calling and recording support
- HD meetings and translation-ready workflows
Pro
For larger teams running more serious meeting and calling volume.
$29.99/month
Room to scale
- Up to 250 participants
- Longer recordings and more capacity
- Priority support and richer operations
Start now with a complete product and scale only when you need more.Cloud phone, meetings, widgets, recording, and translation are ready without an integration project.
See full pricingFinal Step
Don't build from scratch. Don't compromise on scale.
Meetings, cloud phone, widgets, and AI agents are ready the moment you sign in — and the same platform scales into SDKs when you want full control.
No credit card required | Ready-made products | BYOK supported | Scale when you are ready